Verify remote work eligibility
Before gathering documents, confirm your employment structure aligns with the legal definition of a "digital nomad" in your target jurisdiction. This visa category permits individuals to perform duties remotely for employers or clients located outside the host country. It is strictly not a work permit for local employment.
Most countries issuing digital nomad visas explicitly prohibit engaging in the local labor market. If you intend to work for a company registered in the country where you are applying, you likely require a standard work visa or a residence permit tied to local employment. Applying for a digital nomad visa while planning to work locally results in immediate rejection and may complicate future entry.
Your income source must remain external. You must demonstrate that your client base, employer, or business operations are situated in a different country than the one you are visiting. This distinction is critical for tax residency and legal compliance. Authorities need to confirm that your presence does not displace a local worker or drain local economic resources.
Review the specific eligibility criteria on the official immigration website of your target country. Look for language regarding "remote work," "foreign employer," or "independent contractor." If the requirements are ambiguous, consult a legal expert specializing in immigration law before submitting your application. Misclassification of your employment status is a common reason for visa denial.
Evaluate tax residency implications
Selecting a country for a digital nomad visa requires a precise evaluation of tax residency rules. Visa approval grants you the right to reside, but it does not automatically exempt you from local or home-country taxes. Many nations operate on a territorial tax system, meaning they only tax income earned within their borders, while others apply worldwide taxation to residents.
Before committing to a destination, verify whether the visa triggers tax residency. Some countries grant tax exemptions for the first year or two, while others require you to physically leave the country for 183 days to break residency. Ignoring these nuances can result in double taxation or unexpected liabilities with your home country's revenue service.
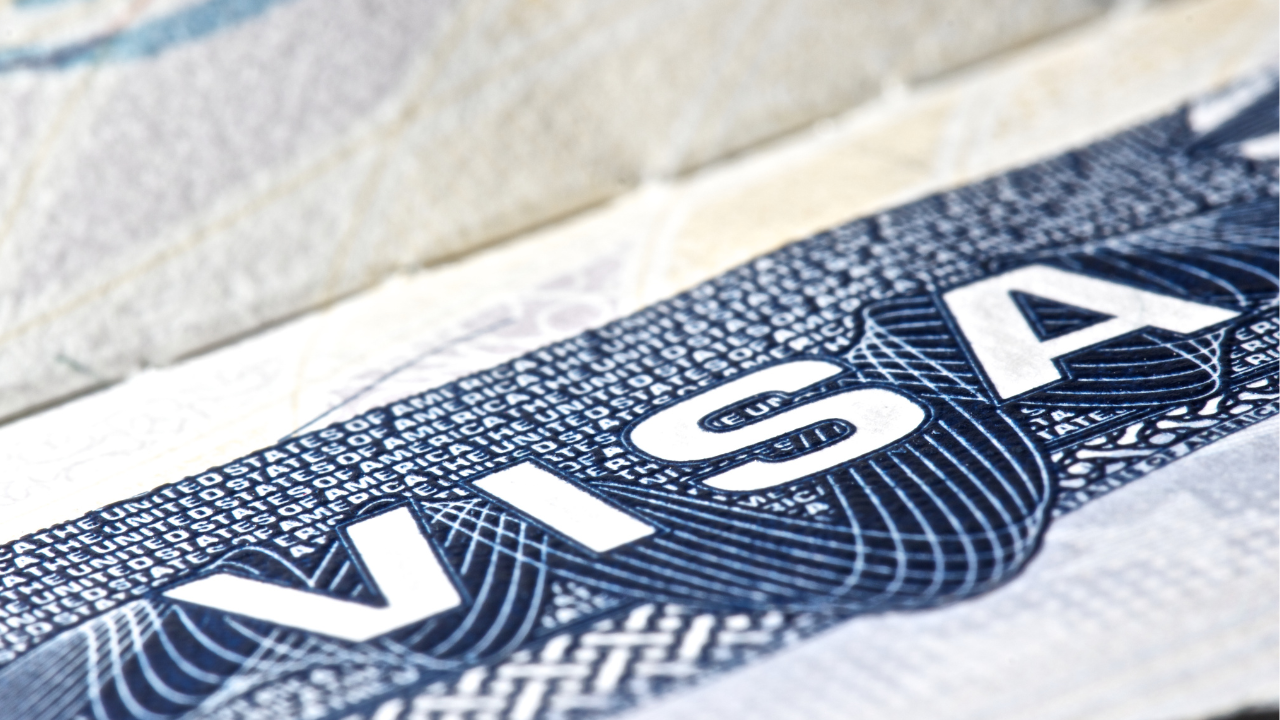
The following comparison highlights key variables for popular 2026 destinations. Use this data to filter options that align with your specific tax situation and income level.
| Destination | Min. Monthly Income | Tax Status for Nomads | Processing Time |
|---|---|---|---|
| Portugal | €3,480 | NHR program ends; standard residency applies | 60–90 days |
| Ecuador | $1,500 (pension) / $2,000 (salary) | Territorial; foreign income generally exempt | 30–60 days |
| Costa Rica | $3,000 (monthly bank deposit) | Territorial; foreign income exempt | 60–90 days |
| UAE (Dubai) | Varies by visa type | 0% personal income tax | 2–4 weeks |
| Spain | €2,646 | Beckham Law: 24% flat rate for 5 years | 30–45 days |


As an Amazon Associate, we may earn from qualifying purchases.
Always consult a qualified tax professional or immigration lawyer before finalizing your move. Tax codes change frequently, and personal circumstances vary. Relying on general visa information without professional advice is a high-risk error that can compromise your financial standing.
Gather proof of income and funds
You must prove you can support yourself without accessing local labor markets. Immigration officers review these documents to verify that your remote work or freelance activity provides stable, sufficient income. Missing or insufficient financial evidence is the most common reason for application rejection.
Prepare bank statements from the last three to six months. Most countries require a minimum monthly income threshold, often ranging from €2,000 to €3,500, or a lump sum of available funds equivalent to one year of residency costs. For example, some destinations require proof of €30,000 in available funds for a 12-month stay. Ensure your statements clearly show consistent deposits or a stable balance. If your income is variable, provide a contract or invoice history that demonstrates a reliable earning pattern.
Include your employment contract or freelance service agreements. These documents must explicitly state that you work remotely for a company or clients outside the host country. They should also confirm your role, salary, and that you are not seeking local employment. If you are self-employed, include recent tax returns or business registration documents to validate your income source.
Essential financial documents checklist
-
Bank statements (last 3–6 months) showing consistent income or sufficient funds
-
Employment contract or freelance agreement proving remote work for non-local entities
-
Proof of minimum monthly income or lump-sum fund availability per country rules
-
Recent tax returns or business registration (if self-employed)
-
Notarized translations of any non-native language financial documents
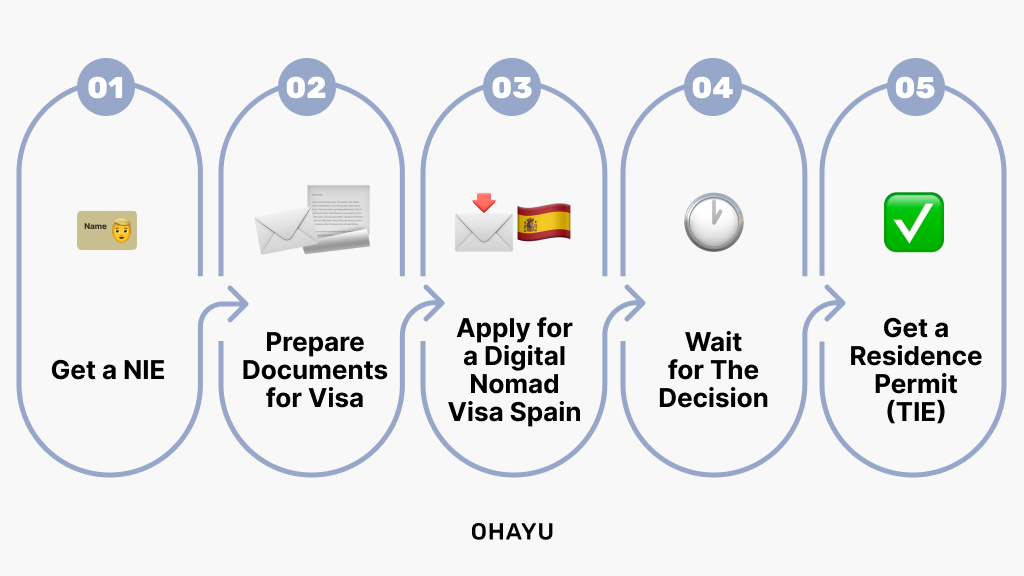
Submit your digital nomad visa application
Submitting your digital nomad visa application is the critical phase where prepared documentation meets government scrutiny. This process is rarely instantaneous; most jurisdictions require applicants to navigate a specific sequence of online portals or consular submissions. Missing a single required document or submitting it in the wrong format can result in immediate rejection or significant delays.
The workflow generally follows a linear path: create an account on the official government portal, upload certified documents, pay the non-refundable processing fee, and schedule an interview if required. Treat this stage as a compliance audit rather than a simple form fill. Accuracy is paramount.
Prepare and upload required documents
Before initiating the application, gather all certified copies of your passport, proof of remote employment or freelance contracts, and evidence of sufficient financial means (typically bank statements from the last 3–6 months). Many countries require these documents to be notarized or apostilled. Upload high-resolution scans that are legible and match the exact file format specified by the portal (usually PDF or JPEG). Do not rely on blurry smartphone photos; low-quality uploads are a primary cause of administrative rejection.
Complete the online application form
Navigate to the official immigration or ministry of foreign affairs website for your target country. Fill out every field with precision. Discrepancies between your application form and your supporting documents—such as a misspelled name or an outdated address—can trigger additional verification requests. Ensure your contact information is current, as all official correspondence regarding your visa status will be sent electronically. Double-check that you have selected the correct visa category, as applying under the wrong classification invalidates the submission.
Pay the processing fee
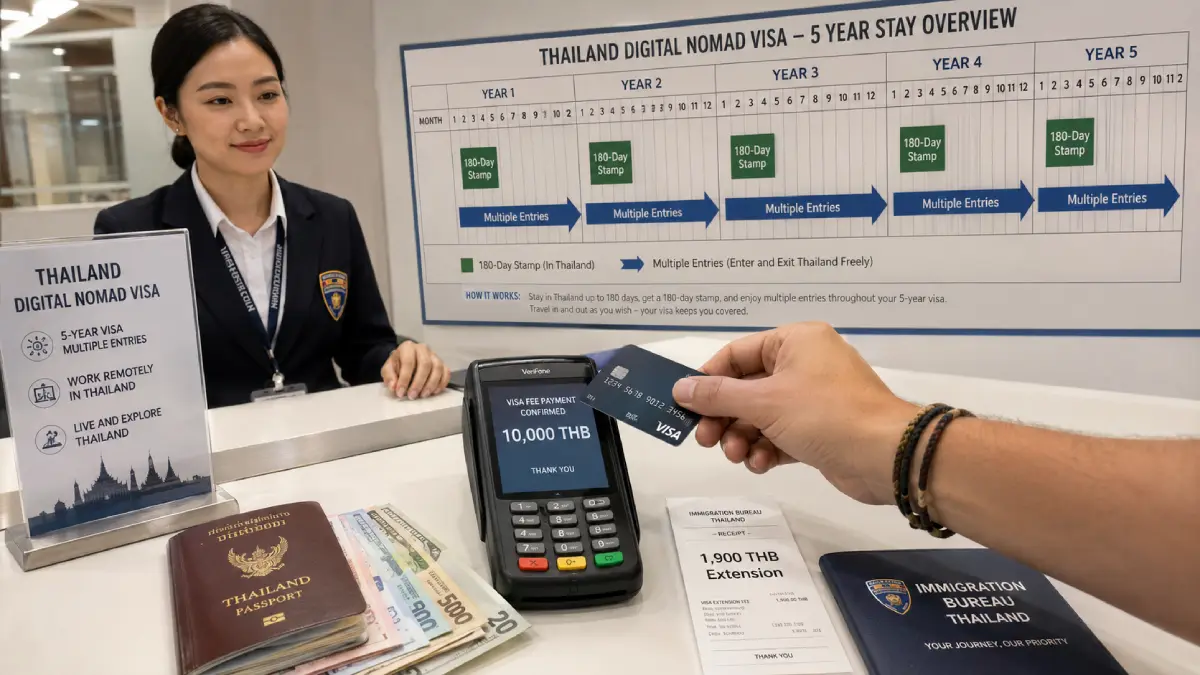
Once the form is complete, you will be prompted to pay the visa processing fee. This is typically done via credit card or bank transfer through the secure government portal. Be aware that these fees are almost always non-refundable, even if your application is denied. Keep the transaction receipt and confirmation number secure, as you may need to reference this during the interview or follow-up communications. Some countries may require additional fees for background checks or biometric data collection.
Schedule a consular interview or biometrics appointment
Many digital nomad visas require an in-person component, such as a consular interview or biometric data collection (fingerprints and photo). If applying from within the country, this may be handled at a local immigration office; if applying from abroad, you must book an appointment at the nearest embassy or consulate. Schedule this as early as possible, as wait times can extend several weeks. Bring your original passport, the application confirmation, and all original supporting documents to the appointment.
Submit the complete application package
Finalize the submission by ensuring all documents are attached, the fee is paid, and the interview is scheduled. Some jurisdictions allow you to submit the application entirely online, while others require a physical mail-in of certified documents after the online pre-screening. Follow the specific instructions for your chosen destination. Once submitted, you will receive an application reference number. Use this number to track the status of your application through the official portal.
Common pitfalls to avoid
- Expired documents: Ensure your passport has at least six months of validity remaining from the date of entry. Expired or soon-to-expire passports are an automatic disqualifier.
- Insufficient funds: Provide clear, unredacted bank statements that demonstrate you meet the minimum income threshold. Redacted statements are often rejected.
- Unclear employment proof: Freelancers must provide detailed contracts or invoices that clearly show the nature of their work and income stability. Vague descriptions can lead to doubts about the legitimacy of your remote work.
Submit your digital nomad visa application by carefully uploading certified documents, completing the official form without discrepancies, paying the non-refundable fee, and scheduling any required consular appointments. Accuracy and timeliness are essential to avoid rejection.
Navigate tax compliance and reporting
A digital nomad visa grants legal permission to reside in a host country; it does not exempt you from tax obligations in your home country. Assuming visa status equals tax freedom is a common and costly error. You must satisfy reporting requirements in both jurisdictions to avoid double taxation penalties or legal action.
1. Report income to your home country
Most countries tax their citizens or permanent residents on worldwide income, regardless of where they work. You must continue filing annual returns with your home tax authority (e.g., the IRS for U.S. citizens). Failure to report foreign earnings can result in severe penalties, even if you owe no additional tax due to foreign earned income exclusions or foreign tax credits.
2. Understand host country tax residency
Tax residency is determined by physical presence, not visa status. If you exceed the host country’s day-count threshold (often 183 days), you may become a tax resident there. This triggers local income tax liabilities on income earned within that jurisdiction. Some countries offer specific nomad tax regimes, but these are exceptions rather than the rule. Always verify the specific day-count rules of your host country.
3. Check for double taxation treaties
Many nations have double taxation agreements (DTAs) to prevent you from paying tax on the same income twice. These treaties determine which country has the primary right to tax specific types of income. Without a DTA, you may face full taxation in both countries. Consult official government resources or a cross-border tax specialist to determine how these treaties apply to your specific income sources.
4. Maintain detailed records
Keep meticulous records of your physical presence in every country. Track entry and exit dates, as well as the source and nature of your income. This documentation is essential for proving non-residency status in host countries and claiming foreign tax credits at home. Automate your record-keeping from day one to simplify annual compliance.
Frequently asked questions about nomad visas
Processing times for digital nomad visas vary significantly by jurisdiction, often ranging from two weeks to three months. Applicants should verify current processing windows directly on the official immigration portal of the target country, as delays are common during peak application periods.
Family inclusion is permitted in many jurisdictions, but requirements differ. Some countries allow spouses and dependent children to join the primary applicant, while others restrict visas to individuals only. Secondary applicants typically must provide proof of relationship and meet separate financial thresholds.
Visa extensions are possible in select countries, though not all nomad visas are renewable. Some programs allow a single extension for an additional six to twelve months, while others require the applicant to leave the country and reapply. Check the specific expiration and renewal clauses in your approval letter.
Finalize your visa strategy
No comments yet. Be the first to share your thoughts!